Pictures can be invaluable in the classroom for stimulating discussion. Here are five ways they can be used. I’ve been using them all for the last thirty years, and they’re certainly not all original. But I honestly can’t remember where they came from. If anybody finds them elsewhere, please leave a comment with the source.
1. Guess what’s in the picture
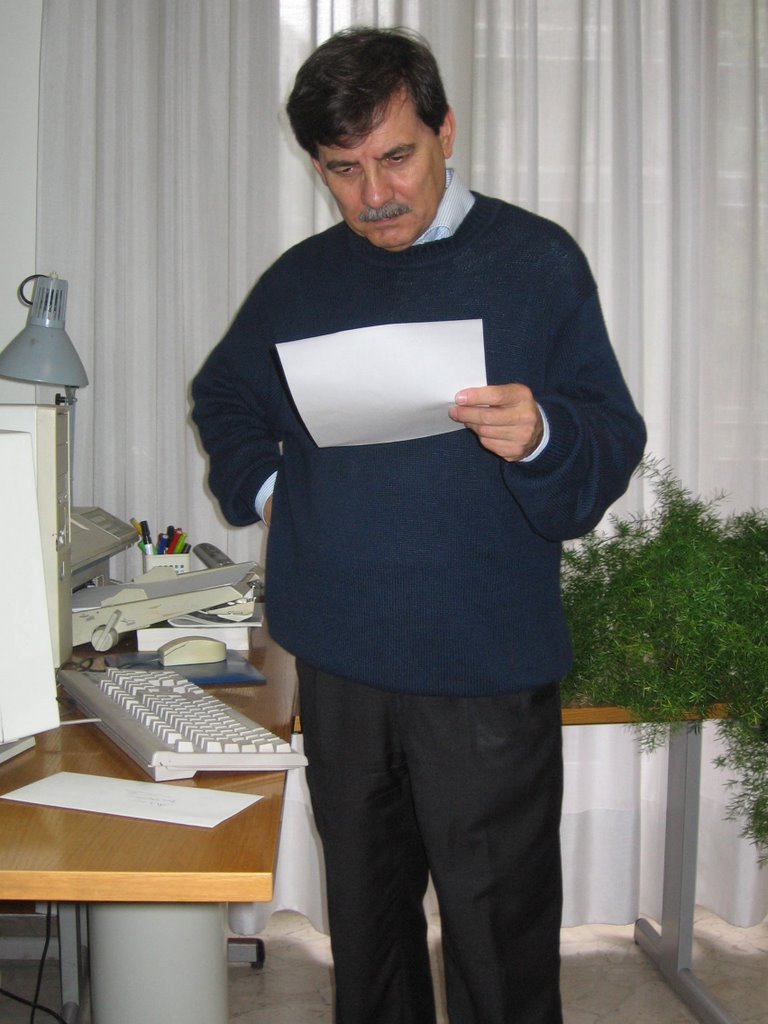
Take a picture into the classroom, but don’t show it to the students. They have to ask you questions until they have understood exactly what’s in the picture, but you can only answer Yes or No – ie they can ask Are there any people in the picture but not How many people are there in the picture. Are they having a picnic? is OK, but not What are they doing? If they get stuck give them a few hints as to what they might ask about – Think about his clothes; He’s working – think about what he’s doing.
2. Picture Memory Game
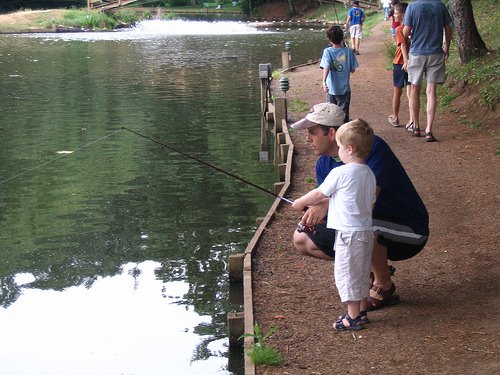
Choose ten pictures. Show the pictures to the group one at a time, for about ten seconds per picture, then put them aside. Ask questions about the first picture to check that they know what they have to do : How many people were there in the picture? Where were they? What were they doing? What were they doing? What was behind them? In pairs, they then reconstruct what was in the other nine pictures. At the end, ask the whole class what they remember. Elicit all their ideas, which will usually contradict each other, without confirming whether they’re right. Ask questions about anything they’ve missed – What did he have in his hand? What was immediately behind the woman? What colour was the car? At the end show the picture again and let them check if they were right.3. Spot the Difference

 Find two similar but not identical pictures. Pair the students and give them each one of the pictures. They must not show their picture to their partner. Tell them how many differences there are between the pictures. They then have to describe their pictures to each other and ask questions to find out what the differences are.
 4. Why are they the same?


You will need as many pictures as there will be students in the group (at least six, preferably more) all on the same theme and with shared features, plus three others to use as examples.
Show three of the pictures and ask if they’re the same or different. Elicit that they’re all different but they have similarities – for example, they all include a cat, Pictures A and B show a woman wearing a red T-shirt, in pictures B and C there’s a child holding a balloon, and in pictures A and C there’s a man reading the paper. Give one of the other pictures to each student. They must not show the picture to the others. They should speak to each of the group members in turn, and find out which elements of their own picture appear in the others.


5. What’s the story?
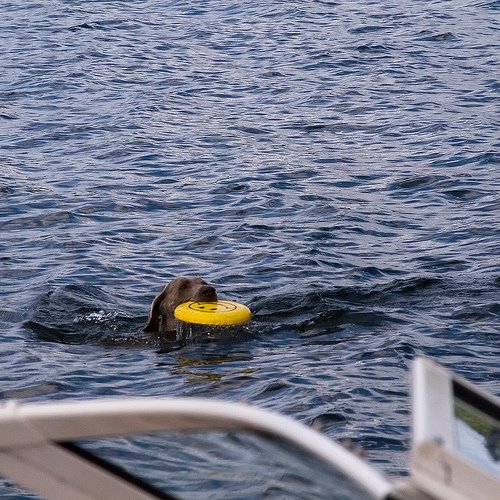
Divide the students into groups of three and give each student a picture. The pictures should be totally unrelated, but tell the students that they show three scenes from the same story. Each student describes their picture to the others (without showing it), and together they decide what the story was. Once they have the general outline they can look at all three pictures to see if they give them any more ideas. At the end each group shows its pictures to the class and tells the story they have invented.
Some General Guidelines
Where do you get the pictures? Sometimes you can use your own photos. This has the advantage that you can choose the contents of the photo to match your students' knowledge exactly. For example, if you want to practise There is /Is there a/an ... using Spot the Difference,choose twelve objects which your students know, include ten of them in the first photo, and replace two of those ten with the remaining objects for the second picture. Magazines are also a good source, but what you find is a matter of chance. If you search the Internet you can find exactly what you want, but if you don’t have a colour printer, they won’t be so effective. Many photos are also copyright, but you can avoid this problem by using eltpics, pixabay or flickr and searching only for photos placed in the public domain under a Creative Commons Licence. You can find out exactly what this means by following the links from the flickr site.
How do you choose the pictures? First of all, they should be fun to talk about, preferably with something interesting or unusual to describe. This is particularly important for activities like What’s the story? But even more importantly, students must be able to describe them within the limits of the structure and vocabulary they have already studied. Don’t choose pictures of activities if the students don’t yet know the present continuous, or pictures of something that has just happened if they don’t know the present perfect. If there are just one or two new lexical items, these can be pre-taught as you set the activity up, but in general the activity should aim to allow students to practise language they already know.
How do you set up the activity? Think in advance about how you are going to explain it – some of the activities are quite complex and the explanation could easily be confusing. Check that students have understood either by asking them to repeat the instructions back to you or, even better by demonstrating the activity with the full class before putting them into pairs or groups.
What’s your role during the activity? As soon as students start, circulate quickly round all the groups to check that they are on-task and have understood the activity correctly. Then start monitoring for language. As you hear anyone say anything which you wish to include in your feedback, write it down. This may be mistakes, or “good” language that you wish to bring to the students attention – for example expressions remembered from a previous lesson. One possibility is to write what you overhear on a piece of paper – one piece for each group. As they finish, this can then be given to them to self-correct. Alternatively, you can write everything on the board. If you have a flipchart in the room you can turn it round so the students can’t see and write everything up immediately. An OHP transparency has the same advantage. If you have to write on a whiteboard, on the other hand, there’s the danger that students will get distracted or inhibited by what you are doing. Depending on the group, you may be able to “train” them not to look at the board while you work. It also helps if you don’t write up each mistake immediately but wait a couple of minutes. If you’re listening to a particular student and suddenly rush to the board, it’s not surprising they look to see what you’re doing! But with small or easily distracted groups it may be better to note everything on a piece of paper, wait until five minutes before the end of the activity and then write the phrases up while they’re finishing off. Avoid waiting till they finish and then writing the phrases up. It means that students are sitting doing nothing, and pace will drop immediately.
Acknowledgements
Photos provided under Creative Commons Licence by Kathy C, Khiscott, missyasmina, Steve Burt, Van Buren, jark via flickr